Your server’s domains must have an authoritative DNS server. You could use one provided by a third party, but you can also configure one locally on your cPanel server. A private nameserver lets hosting providers give their customers a branded address such as ns1.mycompany.com.
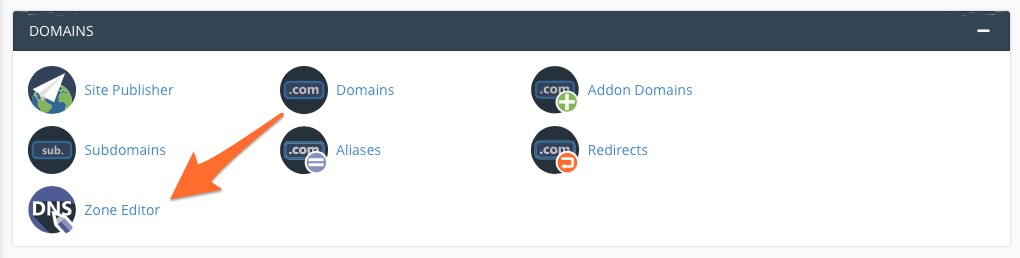
Navigate to the Zone Editor.
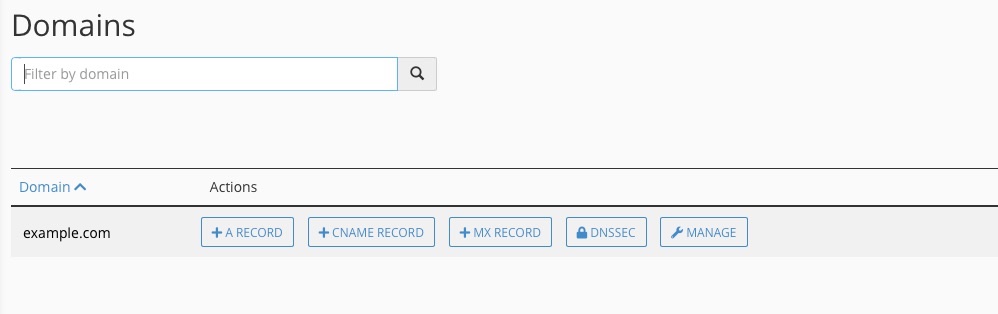
In the Zone Editor, it is easy to add, remove, and edit records for domains hosted on the server. Find the zone you would like to change, and click on Manage.
Next, navigate to Basic WebHost Manager® Setup in WHM’s Server Configuration menu.
At the bottom of the page, enter two domain names of your choice. Typically, these are named ns1.mydomain.com and ns2.mydomain.com, where mydomain.com is a domain associated with your server.
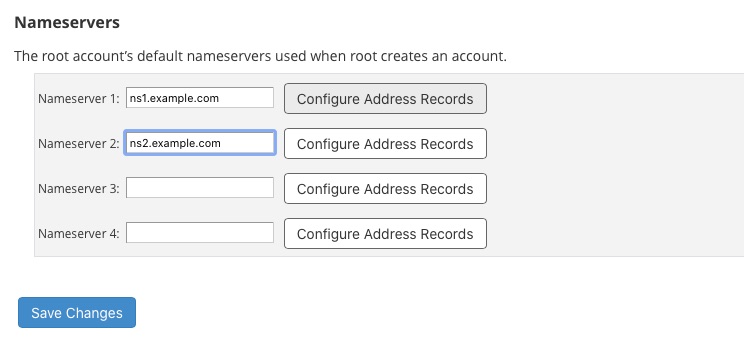
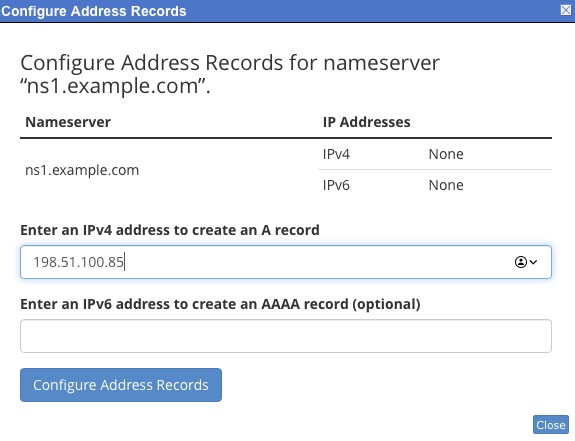
Click “Configure Address Records” next to each entry and verify that the IP address is the same as your cPanel server. This will add the necessary records to the zone file.
After this last step, it may take some time until you can use your new server. The domain name system is massive, and records take a while to propagate around the world, but, all being well, you now have a private nameserver that clients can use for their domains.
The domain name system can be hard to get your head around, but, in most common web hosting and server administration scenarios, you only need to know a handful of concepts. cPanel & WHM takes care of the heavy lifting so that it’s straightforward to manage records and configure a private nameserver that reflects your business and its brand.
